Last updated: April 3, 2026
The reverse sear is the single most important technique advancement in steak cookery in the last twenty years, and I will die on that hill. The traditional method — sear first, then finish in the oven or on indirect heat — was how every steakhouse and every cookbook told you to cook thick steaks for decades. It works. It's also objectively inferior to the reverse method for any steak thicker than 1.5-inch (3.8 cm).
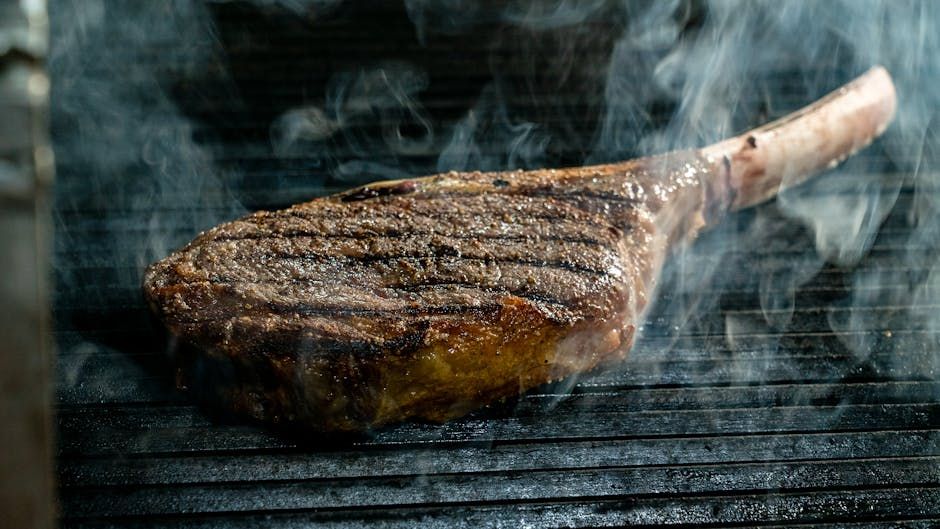
The science is simple: by slowly bringing the steak's internal temperature up from the cool side, you develop an even, edge-to-edge doneness with no gray band. Then by searing on extreme heat at the end, you get a Maillard crust without overcooking the interior. A reverse-seared tomahawk ribeye will have perfect medium-rare from the outer edge to the center, instead of the traditional graduated doneness where the outer half-inch is well-done while the center is raw.
This technique works on any grill — gas, charcoal, kamado, pellet — as long as you can create two temperature zones. I'm writing this for charcoal because I think it produces the best sear, but the principles are universal.
Reverse-Seared Tomahawk Ribeye — Two-Zone Method
Scan for full recipe
https://bbq-experience.com/en/recipes/reverse-seared-tomahawk-ribeye-two-zone
Ingredients
- 1 Tomahawk ribeye, 2-2.5 inches thick, 2.5-3.5 lbs (ask your butcher — do NOT buy thin ones)
- Coarse kosher salt (Diamond Crystal preferred)
- Coarse black pepper (grind it fresh or don't bother)
- 2 tbsp High-heat oil (avocado oil, NOT olive oil — olive oil smokes at these temperatures)
- 2 tbsp Butter (for optional basting)
- 3 cloves Garlic, smashed (for optional basting)
- 2 sprigs Fresh rosemary (for optional basting)
- Optional: 1 wood chunk (oak or hickory) for the searing side — subtle smoke accent
Instructions
- 1
Dry brine — 24 hours ahead (or minimum 1 hour)
Salt the steak generously on all surfaces — about 3/4 tsp kosher salt per pound. Place on a wire rack over a sheet pan, uncovered, in the refrigerator for 24 hours. This dry brine does two things: the salt penetrates the meat for even seasoning throughout, and the uncovered surface dries out, which is essential for a great sear. The drier the surface, the faster and more effective the Maillard reaction. If you only have an hour, salt and leave on the counter — but the 24-hour method is dramatically better.
- 2
Temper the steak — 1 hour before cooking
Remove the steak from the fridge 45-60 minutes before cooking. A tomahawk this thick needs time to take the chill off — going from 38°F fridge temp to 50-55°F room temp reduces the total cooking time on the grill and promotes more even cooking. Apply fresh cracked pepper now (not during the dry brine — pepper can turn bitter over 24 hours of salt exposure).
- 3
Two-zone fire setup
Set up your grill for two zones. On a charcoal grill: bank all the lit coals to one side, leaving the other side completely empty. The cool side should be 225-250°F at grate level. The hot side should be as hot as possible — 600-700°F minimum. On a gas grill: one burner on low (225°F), the other burners off. You'll crank them to max later for the sear. On a kamado: this is tricky — use a heat deflector on one side, or better yet, use the oven for the slow cook phase and the kamado at max heat for the sear only.
- 4
Slow cook — cool side, 225°F, probe in center
Place the steak on the cool side of the grill, bone side down. Insert a leave-in probe thermometer into the center of the thickest part of the meat, avoiding bone. Close the lid with the top vent positioned over the steak (on charcoal) to draw heat across the meat. Target: 120°F internal for medium-rare after searing, 115°F for rare, 125°F for medium. At 225°F ambient, a 2.5-inch tomahawk will take approximately 45-60 minutes to reach 120°F. DO NOT RUSH THIS.
- 5
Pull and rest BEFORE searing
When the probe hits your target temp, remove the steak to a wire rack. Here's the part most people get wrong: rest it for 10-15 minutes BEFORE searing. This rest allows the temperature to equalize throughout the meat, which means the sear won't overcook the outer layer. During this rest, the internal temp will rise 3-5°F from carryover — that's fine and expected. Use this time to rebuild or intensify your searing fire.
- 6
Build the searing fire
If using charcoal: open all vents fully and let the coals get screaming hot. Add more lit charcoal from a chimney if needed. You want 700°F+ at grate level. A single oak or hickory chunk added now will contribute a subtle smoke note during the sear. If using gas: crank all available burners to maximum and let the grill preheat for 5-10 minutes with the lid closed.
- 7
Sear — 90 seconds per side, lid open
Lightly brush (do NOT drench) the steak with avocado oil. Place directly over the hottest part of the fire. Sear for 60-90 seconds until a deep, mahogany crust forms — you want almost-black caramelization without actual burning. Flip once. Sear the other side for 60-90 seconds. Sear the edges by holding the steak on its side with tongs — 15-20 seconds per edge. Total sear time: 3-4 minutes maximum. Keep the lid open during the sear to prevent ambient temperature from cooking the interior further.
- 8
Optional: butter baste during final sear
During the last 30 seconds of searing, add butter, smashed garlic, and rosemary to the grate next to the steak (in a small cast iron pan if available). Tilt the pan and spoon the foaming butter over the steak repeatedly. This adds richness and aromatics to the crust. This step is restaurant-style and not strictly necessary — the steak is already excellent without it — but it elevates the presentation and flavor.
- 9
Final rest — 5 minutes only
Because you already rested the steak before searing, the final rest is short — just 5 minutes on a cutting board. The steak was already temperature-equalized; the sear only affected the outer 2-3mm. Longer resting at this point will only cool the steak. Slice against the grain in 1/2-inch slices, fanned out from the bone. Serve immediately.
Related Recipes
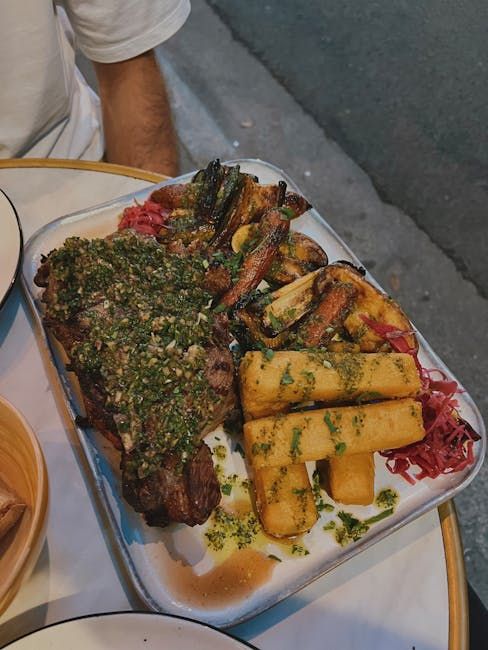
Grilled Argentinian Chimichurri Steak
The simplest and most satisfying thing you can do with a thick steak and a bag of charcoal. Salt, fire, chimichurri. If Argentina got one thing right, it is this.
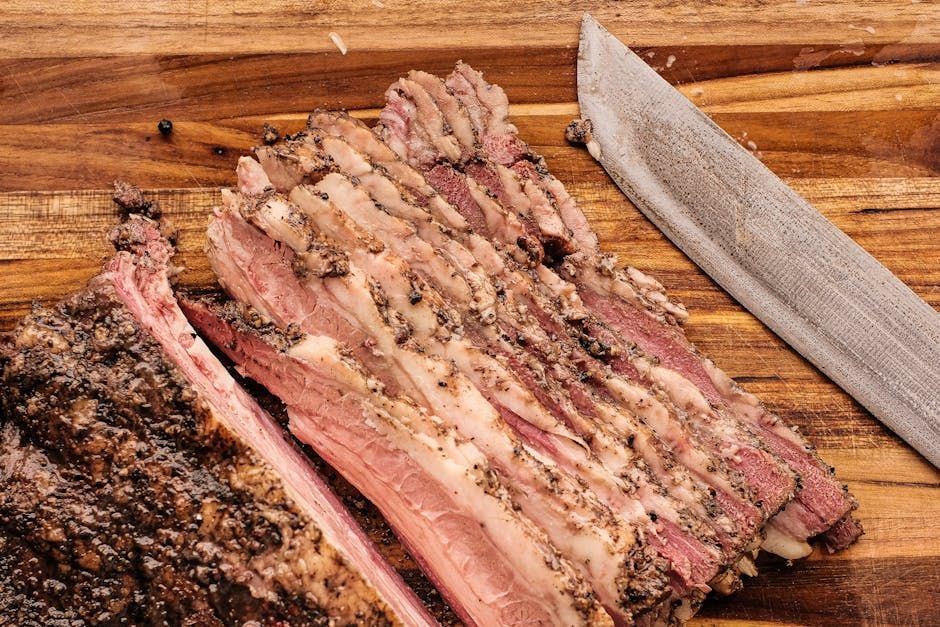
Burnt Ends — Kansas City Style, From the Brisket Point
Real burnt ends come from the point of a whole packer brisket, not from pre-cubed chuck roast or pork belly shortcuts. Here's the full method: smoke the whole brisket, separate the point, cube it, sauce it, and send it back for the caramelization that makes burnt ends legendary.
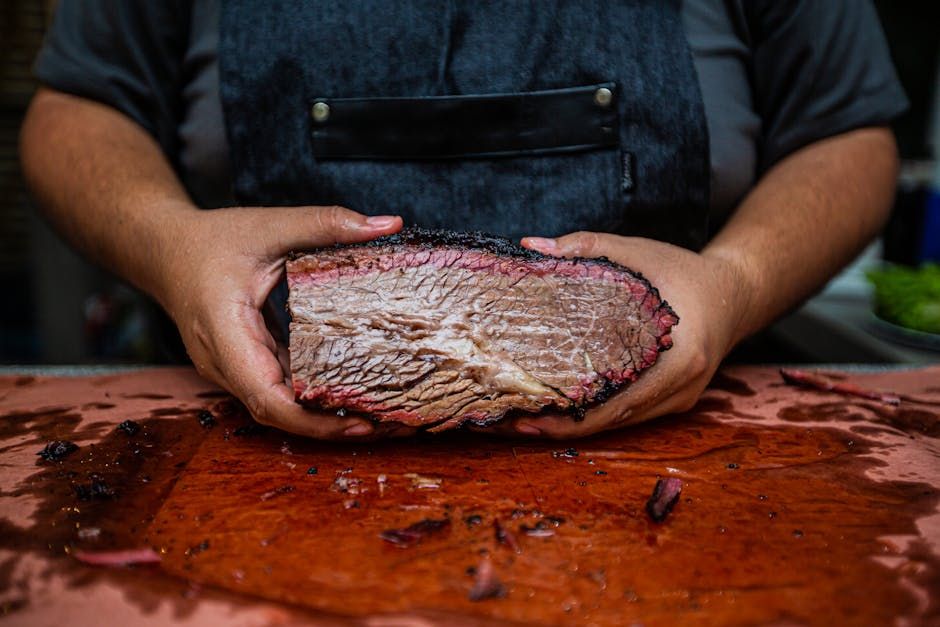
Texas-Style Smoked Brisket
The real deal. No shortcuts, no injections, no wrapping if you have the patience. Salt, pepper, post oak, and 14 hours of your life you will never regret. This is the cook that separates pitmasters from grillers.