How to Prevent Meat from Sticking to the Grill
Last updated: April 10, 2026
## How to Prevent Meat from Sticking to the Grill: 5 Rules That Actually Work
There are few things more frustrating than carefully preparing a beautiful piece of meat only to have it weld itself to the grill grate. You try to flip it and half the crust stays behind. The presentation is ruined. The bark is gone. You are standing there with a spatula full of regret.
This is completely preventable. Every single time. Here are the five rules of non-stick grilling that I follow on every cook.
## Why Meat Sticks in the First Place
Before we fix the problem, you need to understand why it happens. Meat sticks to grill grates for three reasons:
**Protein bonding.** When raw protein hits a hot metal surface, the proteins form chemical bonds with the metal. These bonds are strong. If you try to move the meat before these bonds naturally release, you tear the meat.
**Insufficient heat.** If the grate is not hot enough, the meat sits in a lukewarm zone where proteins bond to metal but never sear properly. A screaming hot grate creates an instant sear that actually prevents sticking.
**Dirty grates.** Old food residue on the grate creates an uneven surface with sticky spots. The meat grabs onto these residue patches instead of sitting on clean metal.
## Rule 1: Clean Your Grates Properly (Hot Cleaning)
Clean your grates when they are hot. Not when they are cold. Heat loosens carbonized food residue and makes it easy to brush off.
Here is the method: fire up your grill and close the lid. Let it heat for 10-15 minutes until the grates are scorching hot. Then use a stiff wire brush or wadded-up aluminum foil held with tongs to scrub the grates clean.
Do this every time before you cook. Every time. No exceptions. A clean grate is the foundation of non-stick cooking.
Some people worry about wire brush bristles coming loose and ending up in food. If this concerns you, use a coil-style grill brush or the aluminum foil method. Both work well.
## Rule 2: Oil the Food, Not the Grate
This is where most people get it wrong. They spray oil on the grate and watch it immediately burn off or cause a dangerous flare-up. The oil vaporizes on the hot metal before the food even touches it. Useless.
Instead, oil the food directly. Pat your meat dry with paper towels, then rub a thin coat of high smoke-point oil on the surface. Avocado oil, canola oil, or vegetable oil all work. Olive oil has too low a smoke point for high-heat grilling.
The thin oil layer on the meat creates a barrier between the protein and the metal. It also promotes better browning and crust development. This is basic food science that works every single time.
For delicate items like fish fillets or vegetables, this step is absolutely critical. A light oil coating is the difference between a perfect sear and a destroyed piece of fish.
## Rule 3: Let the Grate Get Screaming Hot
Patience. This is the hardest rule for most people because they are hungry and they want to start cooking immediately.
Your grate needs to be at full temperature before any food touches it. For charcoal grills, this means the coals are fully ashed over and you have preheated with the lid closed for at least 5 minutes. For gas grills, crank all burners to high and close the lid for 10-15 minutes.
A properly heated grate does two things. First, it creates an instant sear that caramelizes the surface of the meat and prevents protein bonding. Second, it causes the meat to contract slightly, which naturally releases it from the grate.
If you place your hand 6 inches above the grate and cannot hold it there for more than 2 seconds, you are in the right zone for high-heat searing. If you can hold it there comfortably, your grate is not hot enough.
The [GrillGrate Sear Station](/en/reviews/grillgrate-sear-station-review/) is specifically designed to maximize surface contact and heat transfer. The raised rail design creates incredible sear marks while minimizing sticking.
## Rule 4: Do Not Touch It Until It Releases Naturally
This is the golden rule. When you place meat on a hot grate, leave it alone. Do not poke it. Do not prod it. Do not try to peek underneath. Do not move it. Just let it cook.
Here is what happens: the initial protein bond forms with the metal surface. As the Maillard reaction progresses and a proper crust develops, the meat naturally releases from the grate. It will literally let go on its own when it is ready.
If you try to flip or move the meat and it resists, stop immediately. It is not ready. Give it another 30-60 seconds and try again. When it is ready, it will release cleanly with zero effort.
This applies to everything: steaks, burgers, chicken thighs, pork chops, fish, vegetables. The timing varies but the principle is universal. A well-seared piece of meat does not stick.
Use a [reliable instant-read thermometer](/en/reviews/thermoworks-thermapen-one-review/) to check doneness instead of cutting into the meat or constantly flipping it. Less handling means less chance of sticking and tearing.
## Rule 5: Season and Dry the Surface
Moisture is the enemy of a good sear and the friend of sticking. Wet meat will steam instead of sear when it hits the grate. Steaming means no crust. No crust means sticking.
Pat your meat dry with paper towels before it goes on the grill. For steaks, some pitmasters take this further by salting the meat 45 minutes ahead of time and letting it sit uncovered in the fridge. The salt draws out surface moisture, then the meat reabsorbs it. The surface dries out and you get a dramatically better sear.
For a [grilled chimichurri steak](/en/recipes/grilled-argentinian-chimichurri-steak/), getting the surface bone-dry before grilling is what creates that incredible contrast between the charred crust and the herbaceous sauce.
Sugar-based marinades and sauces are particularly sticky. If your marinade has sugar, honey, or molasses, save it for the last few minutes of cooking or apply it as a finishing glaze. Sugar caramelizes at 320F and burns at 350F. It will bond to the grate like cement if applied too early.
## Bonus: When Sticking Is Actually Good
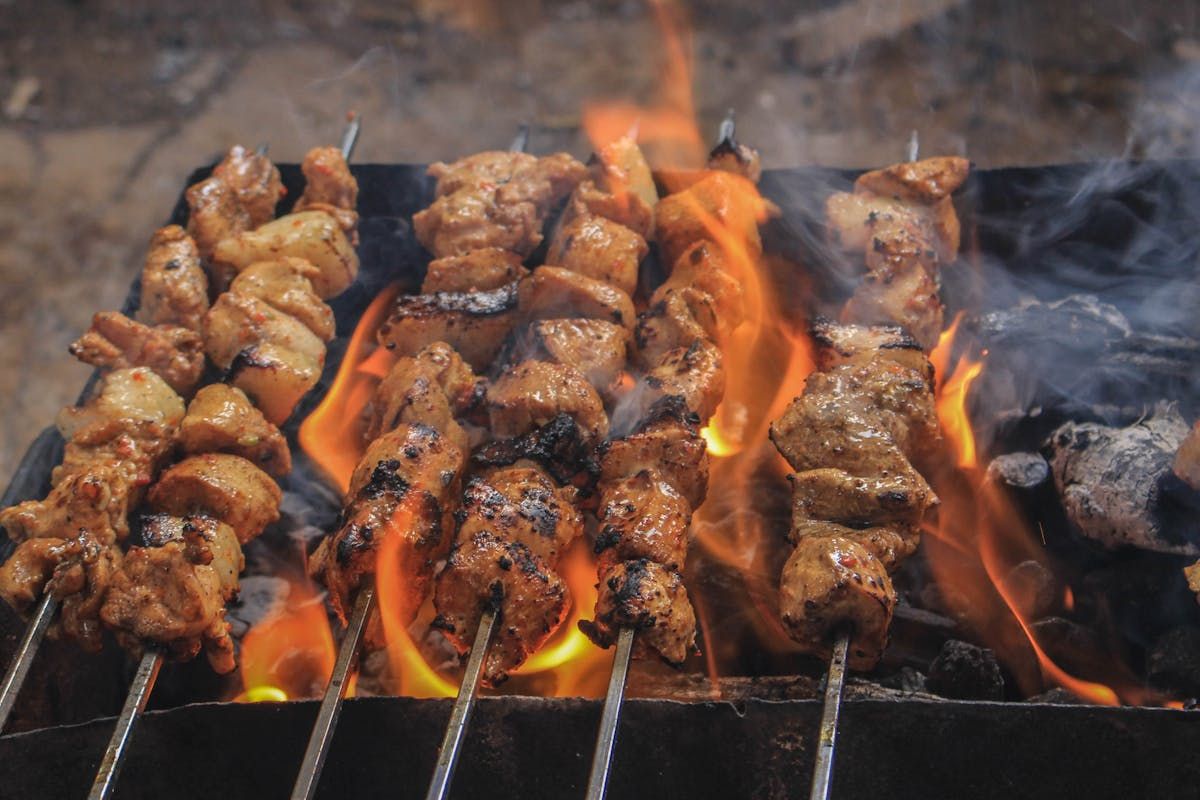
Here is a controversial opinion: sometimes sticking is a sign that you are doing something right. If your meat develops a deep, dark crust that grips the grate, that means the Maillard reaction is working overtime. The crust will release when it is ready.
Competition brisket with a mahogany bark sticks to the grate initially. That is the bark forming. If you rip it off prematurely, you lose the best part. Patience pays off.
## Special Cases
### Fish
Fish is the most likely to stick. Use the oil-the-food method religiously. Consider using a fish basket or grilling on a cedar plank for delicate fillets. Skin-on fish is easier — place skin-side down and the skin acts as a natural barrier.
### Chicken with Skin
Chicken skin has fat that renders and can cause flare-ups and sticking. Start skin-side up on indirect heat to render the fat, then flip to direct heat skin-side down for the final crisp. The pre-rendered fat acts as its own non-stick coating.
### Vegetables
Toss in oil generously. Use a grill basket for small pieces. For large slabs like eggplant or zucchini, oil both the vegetable and give the grate an extra brush.
## The Bottom Line
Five rules. Clean hot grates. Oil the food. Preheat properly. Do not touch until it releases. Dry the surface. Follow all five and sticking becomes a problem you used to have.
No non-stick sprays needed. No fancy gadgets required. Just fundamental technique that works on any grill, with any food, every single time.