How to Achieve a Perfect Bark on Smoked Meat
Last updated: April 10, 2026
## How to Get Perfect Bark on Smoked Meat
Bark is the holy grail of smoking. That dark, crusty, intensely flavorful exterior that forms on brisket, pork shoulder, and ribs during a long smoke. It is not burnt. It is not charred. It is the result of a complex chemical reaction between smoke, heat, fat, and seasoning.
When someone bites into your smoked meat and their eyes go wide, nine times out of ten it is the bark that made the difference. Here is exactly how to build it.
## What Is Bark, Scientifically?
Bark is the result of two chemical processes happening simultaneously on the meat surface: the Maillard reaction and polymerization.
The **Maillard reaction** is the same process that browns a steak in a pan. Amino acids and sugars in the meat react at temperatures above 280F to create hundreds of new flavor compounds. On a smoker, this happens slowly over many hours, building layer after layer of flavor.
**Polymerization** is when smoke compounds (specifically phenols and carbonyls) land on the wet surface of the meat and bind together into a solid, dark layer. These smoke particles are attracted to the moist surface and they accumulate over time. As the surface dries, they form a permanent crust.
The rub plays a crucial role too. Salt draws moisture to the surface (which attracts smoke). Sugar caramelizes and darkens. Spices and dried herbs contribute color and texture. Together, all of these elements fuse into what we call bark.
## Step 1: The Rub Is the Foundation
You cannot build good bark without a good rub. Period. The rub provides the raw materials that form the bark structure.
For brisket, the classic is salt and coarse black pepper (dalmatian rub). The coarse grind of the pepper is critical — it creates texture in the bark. Fine ground pepper dissolves and contributes nothing to bark structure.
For pork, you have more room to play. A rub with brown sugar, paprika, garlic powder, onion powder, cumin, and black pepper builds a sweeter, more complex bark. The sugar caramelizes during the cook and creates that characteristic reddish-black crust.
Our [BBQ rub building guide](/en/tutorials/bbq-rub-bible-building-flavor-from-scratch/) goes deep into creating custom rub profiles for different meats and styles.
Apply the rub generously. A thin dusting will not build bark. You want a visible coating on every surface. Some pitmasters apply a binder first (yellow mustard, hot sauce, or olive oil) to help the rub stick. The binder flavor cooks off completely — it is just adhesive.
## Step 2: Start with a Dry Surface
Moisture management is everything in bark formation. The surface of the meat needs to go through a specific cycle:
1. **Wet phase:** The rub absorbs moisture from the meat and dissolves partially. Smoke particles stick to this wet surface.
2. **Tacky phase:** The surface begins to dry but is still sticky. More smoke adheres. The Maillard reaction starts.
3. **Set phase:** The surface is dry and firm. The bark has solidified. It will darken but not change texture much from here.
Pat your meat completely dry before applying the rub. If you brine or marinate, dry the surface thoroughly. Excess surface moisture delays bark formation because the meat spends too long in the wet phase.
Some pitmasters refrigerate their rubbed meat uncovered overnight. This dries the surface and lets the salt penetrate deeper. I do this for every brisket and pork shoulder. The difference in bark quality is noticeable.
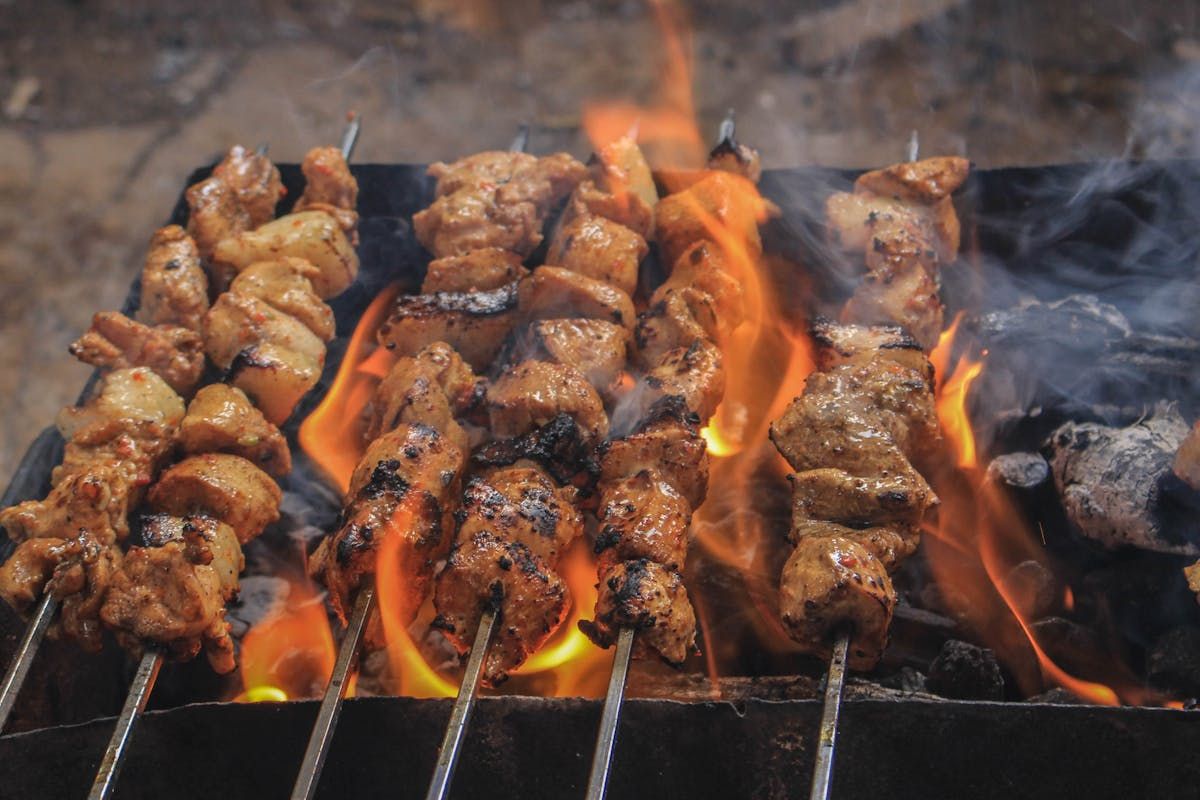
## Step 3: Temperature Matters More Than You Think
Bark forms best between 225-275F. Below 225F, the Maillard reaction slows significantly and bark development takes forever. Above 300F, you risk burning the surface before the bark sets properly.
The sweet spot for most pitmasters is 250F. Hot enough for good bark development, cool enough for a long, steady cook that renders fat and breaks down collagen.
Your smoker choice affects this. [Offset smokers](/en/reviews/oklahoma-joes-highland-offset-smoker-review/) can produce outstanding bark because the combination of radiant heat and heavy smoke flow creates ideal bark conditions. [Kamado grills](/en/reviews/kamado-joe-classic-iii-review/) also produce excellent bark due to their efficient heat retention and clean smoke.
Pellet grills like the [Traeger Ironwood](/en/reviews/traeger-ironwood-885-review/) produce good bark but typically lighter in color due to the cleaner, lighter smoke profile. You can compensate by using a smoke tube for extra smoke during the first few hours.
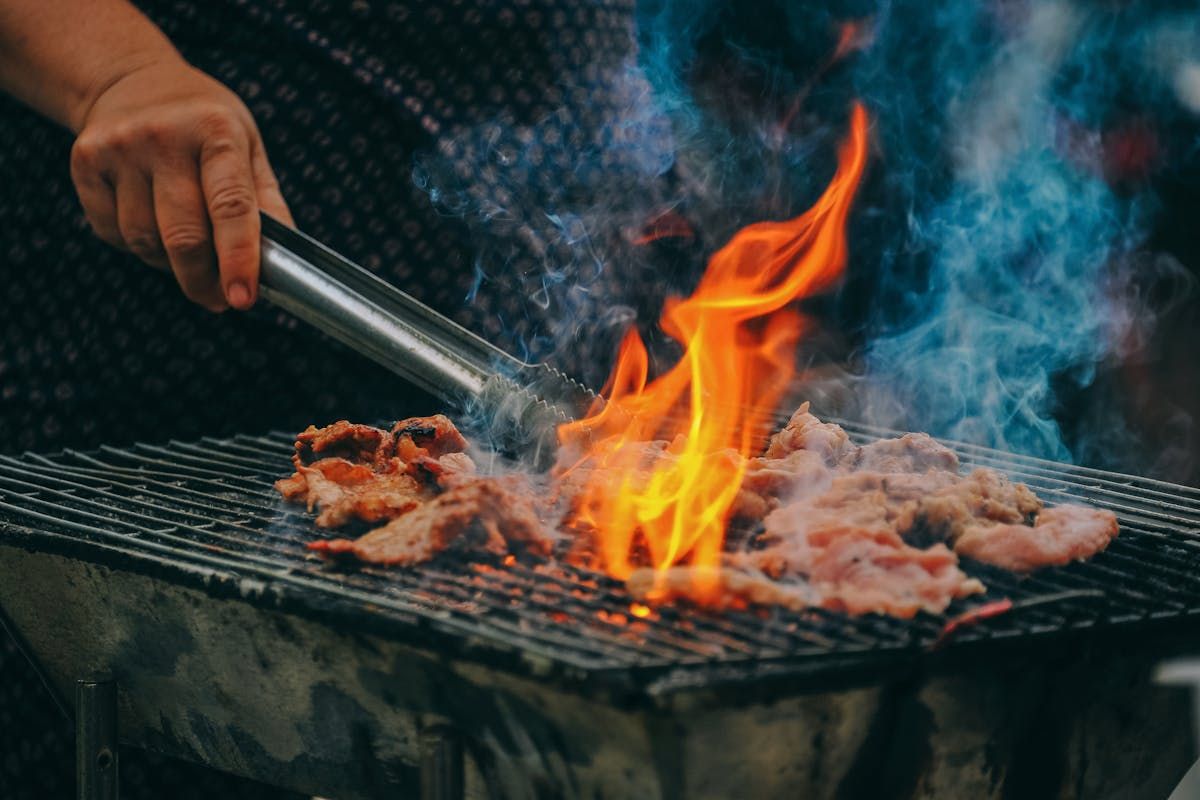
## Step 4: Smoke Quality Is Critical
Not all smoke is equal. Thin, blue smoke builds beautiful bark. Thick, white billowing smoke builds bitter, acrid bark that tastes like an ashtray.
Thin blue smoke means your fire is burning clean and efficiently. The smoke compounds that land on the meat are the ones that create good flavor — vanillin, guaiacol, syringol. These are the compounds responsible for that addictive smoky taste.
Thick white smoke means incomplete combustion. It deposits creosote on the meat, which tastes bitter and leaves a numb feeling on your tongue. If you have ever eaten BBQ that made your mouth tingle unpleasantly, that was creosote.
Proper [fire management](/en/tutorials/fire-management-101-offset-smoker-temperature-control/) is the key to clean smoke. Small, hot fires with properly seasoned wood. Not smoldering chunks in a choked-off firebox.
## Step 5: Do Not Spritz Too Early
Spritzing (spraying the meat with apple cider vinegar, apple juice, or water during the cook) is controversial. Some pitmasters spritz every 45 minutes. Others never touch a spray bottle.
Here is the truth: spritzing in the first 2-3 hours of a cook washes away the rub and delays bark formation. The surface is still in the wet phase and adding more liquid keeps it wet longer.
If you spritz, wait until the bark has started to set (usually after 3-4 hours). At that point, a light mist can add a slight sheen and help smoke particles adhere to the surface. It can also slow bark darkening if things are getting too dark too fast.
I personally spritz only if the bark is darkening faster than I want. If it looks good, I leave it alone. Less intervention usually means better results.
## Step 6: Manage the Wrap Timing
Wrapping too early kills bark development. The moment you wrap, the steam inside the wrap softens the bark surface. If the bark has not fully set before wrapping, you end up with a soft, mushy exterior instead of a crunchy crust.
Wait until the bark is firm and dry to the touch before wrapping. This typically happens at 160-170F internal temperature but go by feel, not by numbers.
Butcher paper preserves bark significantly better than aluminum foil because it breathes. Foil traps all the steam and essentially steams the bark into softness. If bark quality is your priority (and it should be), use butcher paper.
## Step 7: Fat Cap Placement
The fat cap debate never ends. Fat cap up or fat cap down? Here is what actually matters for bark:
The side facing the primary heat source will develop bark faster. In most offset smokers, heat comes from above (convection). Fat cap up means the fat renders and bastes the meat, but the bark forms primarily on the bottom. Fat cap down means the fat acts as a heat shield and the bark forms on top (the presentation side).
In a kamado or bullet smoker, heat rises from below. Fat cap down protects the meat from direct heat and the bark develops on the sides and top.
I run fat cap down on offset smokers and fat cap up on vertical smokers. But honestly, the differences are subtle. What matters more is rub application, temperature control, and smoke quality.
## Common Bark Problems and Fixes
**Bark is too dark/black:** Your temperature is too high or you have too much sugar in your rub. Reduce heat to 225F and cut the sugar content.
**Bark is pale and soft:** Not enough time in smoke before wrapping. Let it go longer unwrapped. Also check your smoke quality — if you are getting thin wisps instead of a steady stream, you may not be producing enough smoke.
**Bark is bitter:** Creosote from dirty smoke. Clean your firebox. Use smaller, hotter fires. Make sure your exhaust vent is fully open to allow smoke to flow through and exit.
**Bark peels off when slicing:** The bark did not properly adhere to the meat surface. This usually means not enough rub or the surface was too wet when smoking started. Use a binder next time.
## The Bottom Line
Perfect bark is not luck. It is the predictable result of doing several things right: generous rub on a dry surface, clean smoke, proper temperature, and patience. Every step matters and they compound on each other.
Rush any step and the bark suffers. Nail every step and you get that deep, dark, crunchy crust that makes people close their eyes and make involuntary noises. That is the goal.